How to crop an image on Mac: native tools and instant workflows
Crop an image on Mac with Preview or Photos, or try the center-crop tool on this page. Compare selection controls, aspect ratios, PNG export, and ways to preserve the original.
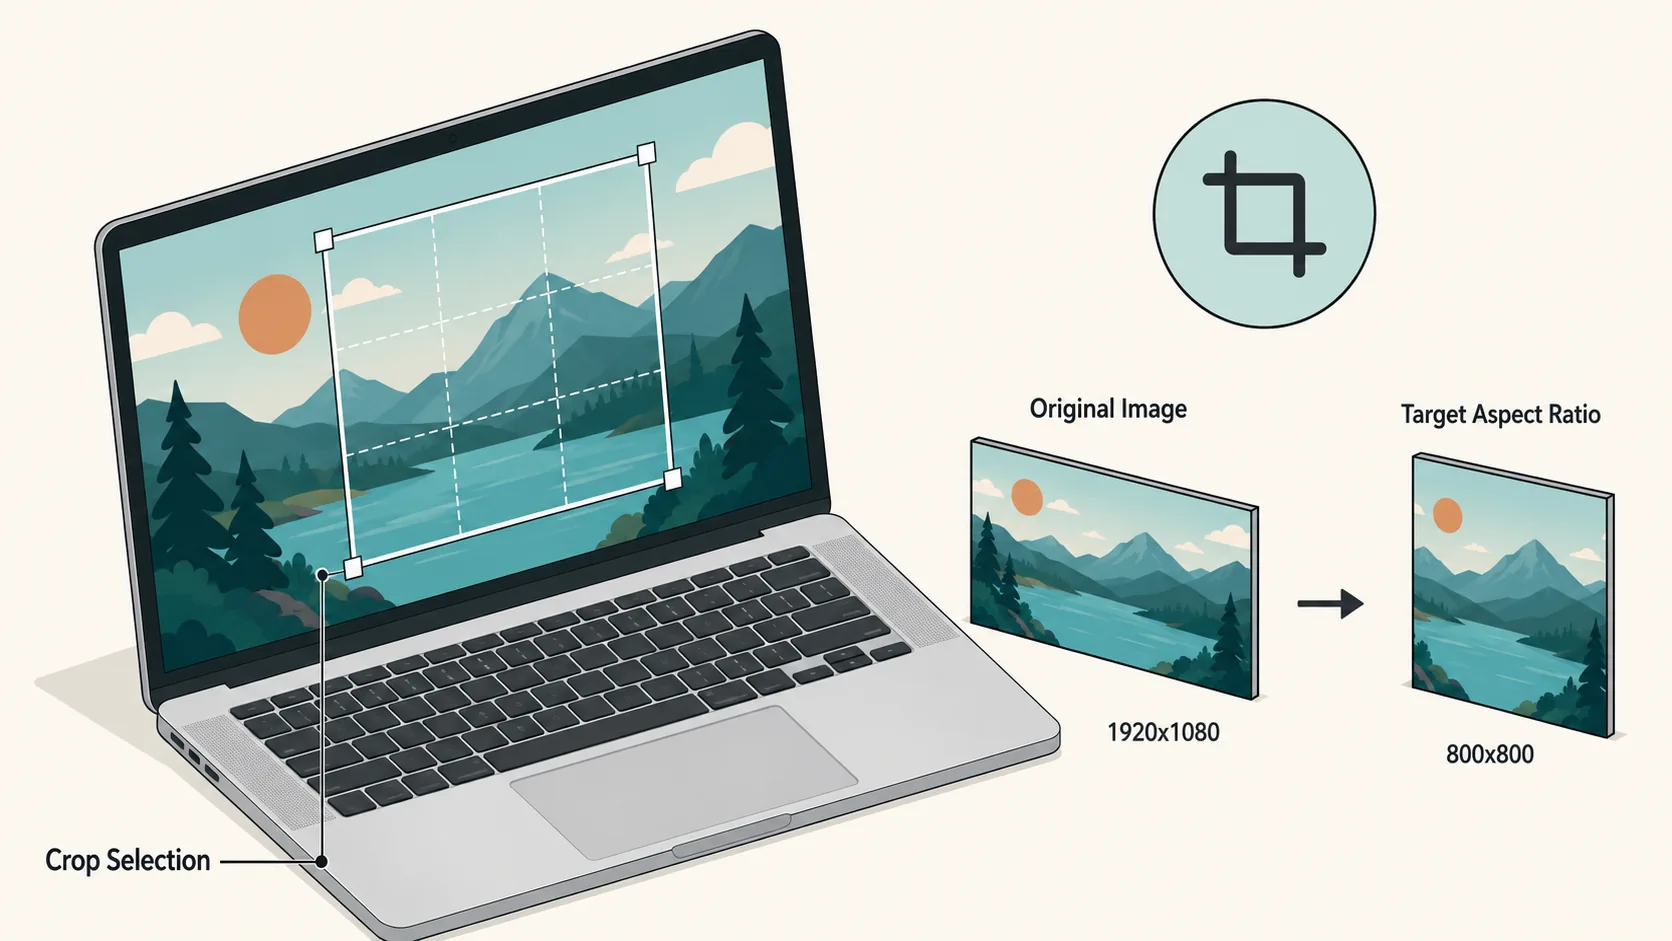
To crop an image on Mac, open it in Preview, select the area to keep, then choose Tools > Crop or press Command + K. Duplicate the file before editing if you want an untouched original. For a quick centered crop, use the online tool below and download a new PNG.
Choose Preview when you want to position the selection yourself, Photos for adjustable framing with aspect-ratio controls, or the web tool for a centered preset. Cropping removes edges; it is not the same as resizing an entire image or converting its file format.
Preview: select an area, then press Command + K. Web tool: choose a center-crop ratio and download PNG. The web crop cannot be dragged or repositioned.
Best solution
To crop an image on Mac, open it in Preview, select the area to keep, then choose Tools > Crop or press Command + K.
Choose a PNG, JPG, or WebP image your browser can decode. Apply a centered aspect-ratio crop and download PNG. Processing stays in the browser; repositioning and file-size compression are not supported.
Choose a file to start. Nothing is uploaded.
Single still image. JPEG uses white behind transparency. Decoder notices

Keep fast calculators and daily tools pinned right to your desktop.
Key solutions at a glance The main decisions from this guide, condensed into one table.
Crop a Selected Area in Preview
Use Preview when the subject is off-center or you need to choose the exact part of the image to keep:
1. In Finder, duplicate the file if you need a separate original. Use Open With > Preview so the image opens in the intended app, regardless of your default image viewer.
2. Show the Markup toolbar and select Rectangular Selection. Drag over the part you want to keep, then adjust the selection before applying the crop.
3. Choose Tools > Crop or press Command + K. Inspect the result before saving. Use Edit > Undo Crop immediately if the selection was wrong; working on a duplicate keeps the source separate.
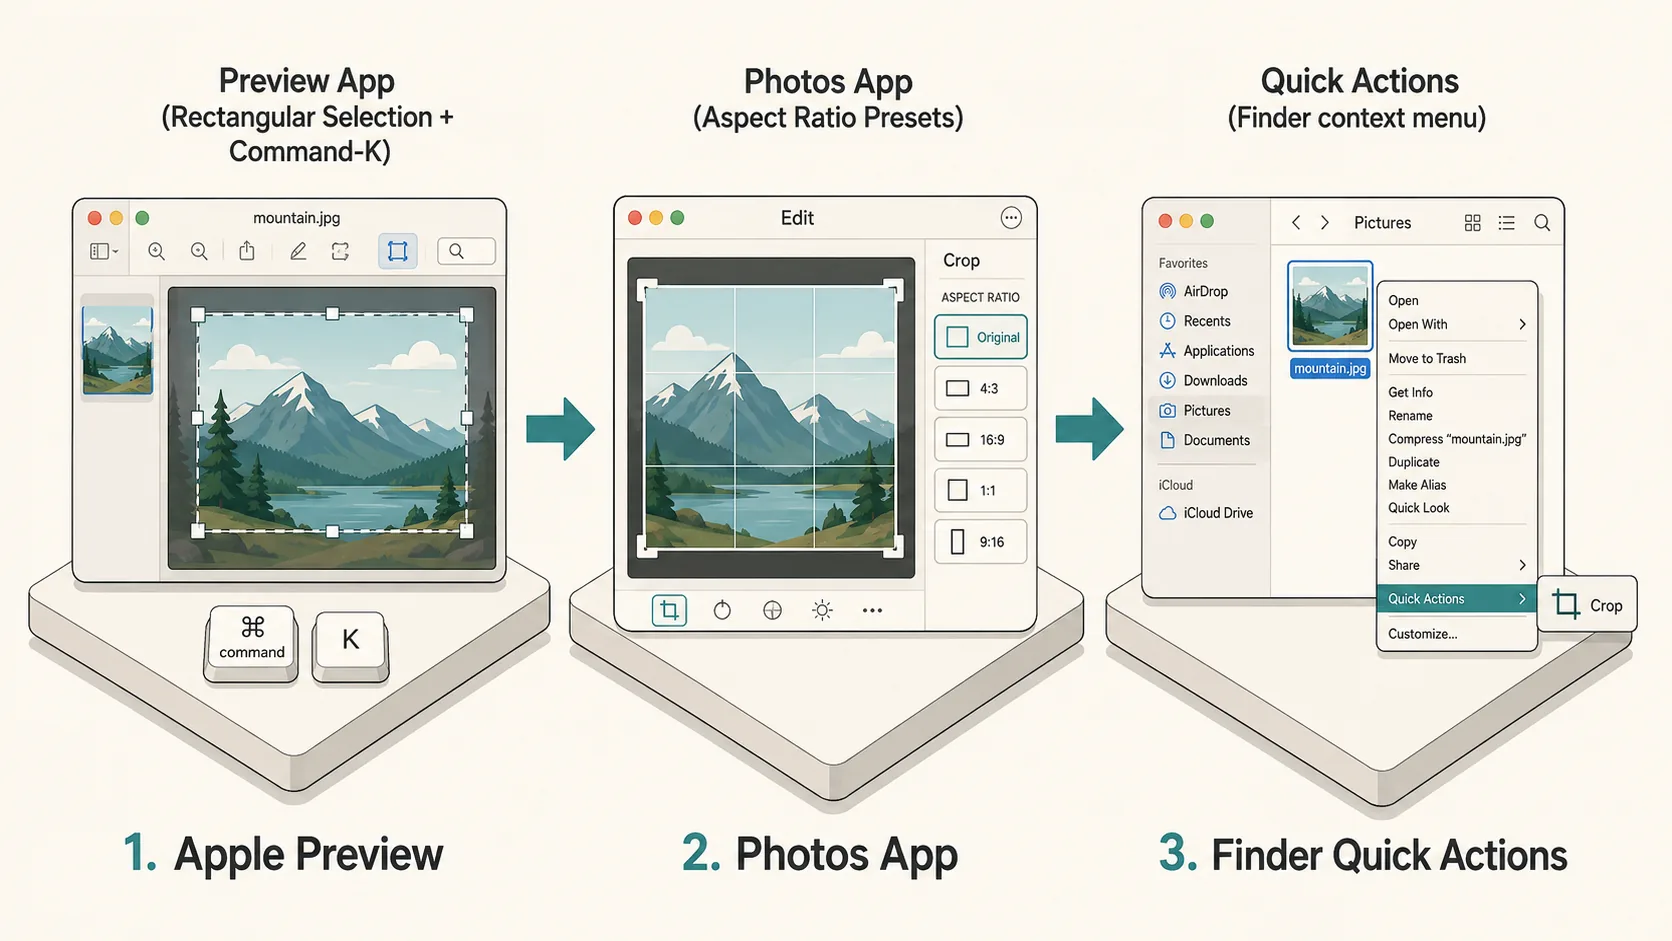
Photos App: Precision Aspect Ratios (16:9, 1:1, 4:3)
Photos is useful for choosing an aspect ratio while adjusting the composition. Use it when a centered web crop would cut off the subject:
Step 1: Open the image in the Photos app and click the Edit button in the upper-right toolbar.
Step 2: Click Crop in the top navigation bar. On the right side panel, click Aspect Ratio to reveal standard presets: Square (1:1), 16:9, 4:3, 5:7, or custom dimensions.
Step 3: Adjust the framing box. The bounding rectangle automatically preserves your chosen aspect ratio regardless of how you drag the corner handles. Photos applies non-destructive edits, meaning you can revert to the original uncropped photo at any time.
Mac Native Cropping Methods Comparison Table
To select the ideal cropping method for your workflow, compare the core strengths, limitations, and operational speed across all native macOS solutions:
| Tool / Method | Speed & Convenience | Aspect Ratio Lock | Non-Destructive Editing | Ideal Real-World Use Case |
|---|---|---|---|---|
| Preview | Open a file and select an area | Selection controls | Duplicate first; undo or available versions | Off-center subjects and precise framing |
| Photos | Edit an image in the library | Aspect-ratio controls | Revert edits while the original is retained | Photo composition and preset ratios |
| This web tool | Choose one browser-readable image | Centered presets only | Downloads a separate PNG | Quick centered crops without repositioning |
| Custom automation | Requires separate setup and testing | Depends on the action | Depends on its output settings | Repeated batch work after testing on copies |
Notice that for rapid document clipping, Apple Preview is unmatched. But whenever a platform requires strict pixel ratios (such as an Instagram square or LinkedIn header), Photos or dedicated quick tools prevent awkward distortion.
Common Traps: Quality Loss, Transparency, and Reversibility
When learning how to crop image on Mac, users frequently encounter subtle image degradation or accidental file overwrites. Watch out for these three technical traps:
1. Original Files: Duplicate before editing if you need an untouched file. Preview may offer earlier versions, but do not rely on version history as your only backup. The web tool downloads a new file and does not overwrite the selected source.
2. Transparency: Use PNG when you need a transparent background. JPEG does not preserve an alpha channel. The web tool always exports PNG; it does not offer a choice of output formats or guarantee a smaller file than the original.
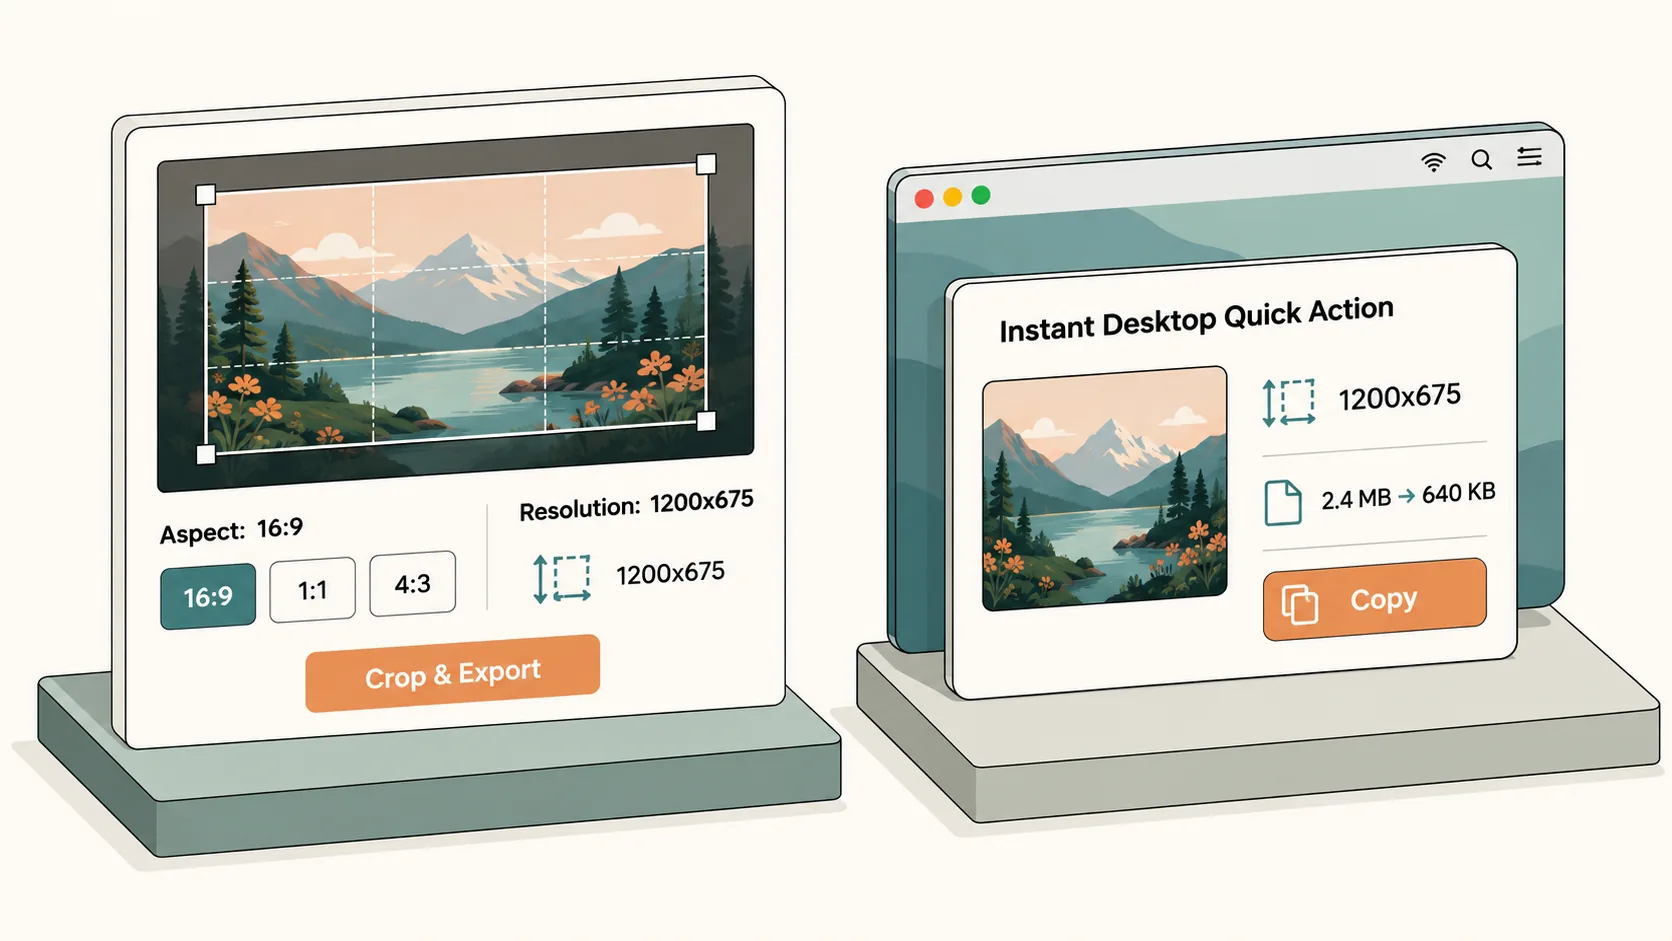
3. Cropping vs. Export Encoding: Cropping selects which part of an image to keep; the save format determines how that selection is encoded. Repeated JPEG exports can accumulate compression artifacts. Keep the original and save working copies in PNG or TIFF when you need to avoid additional lossy encoding.
When to Use the Online Center Crop
For manual framing controls, consult the current Apple guides.
Knowing how to crop image on Mac solves standalone graphic edits, but modern knowledge workers crop and resize dozens of images daily. Manually opening Preview, drawing boxes, checking pixel dimensions, and saving files creates continuous context switching.
Whether you are formatting screenshots for product documentation, preparing blog banners, or sharing bug reports, repetitive manual image editing drains creative momentum throughout the workday.
For a centered crop, select an image and choose 1:1, 16:9, 4:3, or 9:16 in the tool above. It keeps the largest centered rectangle that fits, then downloads a PNG. It has no freehand selection, drag-and-drop upload, target-file-size control, or batch processing. Use Preview or Photos if you need to move the crop.
Frequently Asked Questions
Can I undo a crop in Apple Preview after saving?
Use Edit > Undo Crop immediately. For a saved edit, File > Revert To > Browse All Versions may let you restore an earlier version if one is available. A separate original copy is safer than relying on version history.
How do I crop an image into an exact square (1:1) in Preview?
Hold down the Shift key while dragging the selection rectangle in Preview. The Shift key constrains your selection box to a perfect 1:1 square. Then press Command + K to crop.
How can I crop a screenshot before it even saves to my Mac desktop?
Press Command + Shift + 4 (⌘⇧4) to invoke the interactive crosshair cursor, then drag over the exact screen area you wish to capture. If you press Command + Shift + 5, you can define a persistent rectangular capture frame.
Cropping images on Mac requires zero extra software once you master native Preview and Photos tools.
Use Command + K in Preview for instant edits, and rely on Photos for strict aspect ratio locks.
Explore Kepo separately for desktop workflows. Downloading the app from this page does not automatically install or configure this cropper.
Stay informed with Kepo on your desktop
Embed interactive widgets, monitor dynamic sites, track APIs, and run ambient AI agents right on your macOS desktop.
Related Articles
View all posts →JPG vs PNG: Which Format Should You Choose?
Choose JPG for photos to save bandwidth with lossy compression. Choose PNG for screenshots, crisp text, and transparent backgrounds. Converting PNG to JPG irreversibly flattens transparency onto a solid background.
How to calculate days between dates and business days
Enter two dates to count calendar days, weekdays, and weekends. Check whether to include the end date, follow a worked example, and account separately for holidays.
How to find IP address on Mac: local vs. public IP explained
Learn how to find IP address on Mac across local network interfaces and public gateways. Master Terminal shortcuts, understand private vs. public routing, and pin live network widgets to your desktop.
How to add widgets on Mac with AI-built custom widgets
A practical guide to adding widgets to the Mac desktop, using the built-in widget gallery, and creating custom widgets when the widget you need does not already exist.